Looking at your bookings on the Google Calendar integrated with Cabookie can ease your business as a Taxi service provider. For achieving the same, creating API keys is important. This article will help you do it easily.
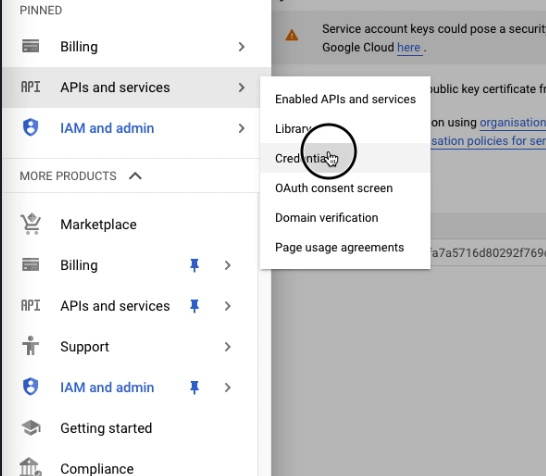
To start the process, Login into your google console account and select the existing project meant for Cabookie. In the Dashboard, go to the “APIs and Services” section.
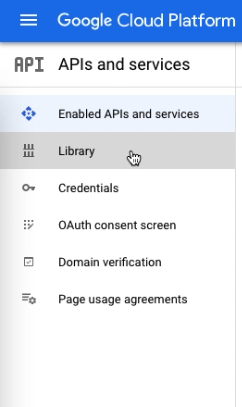
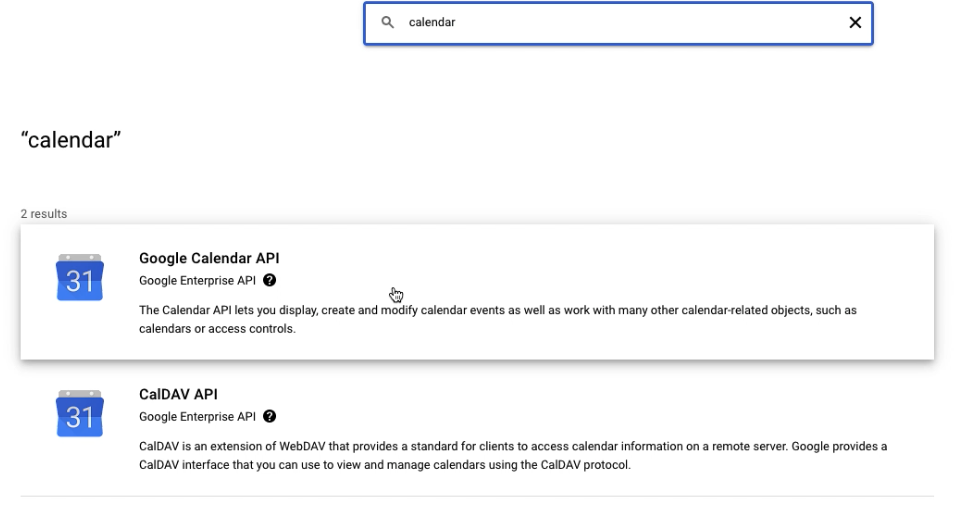
Select Library and search for Calendar API and enable “Google Calendar API”
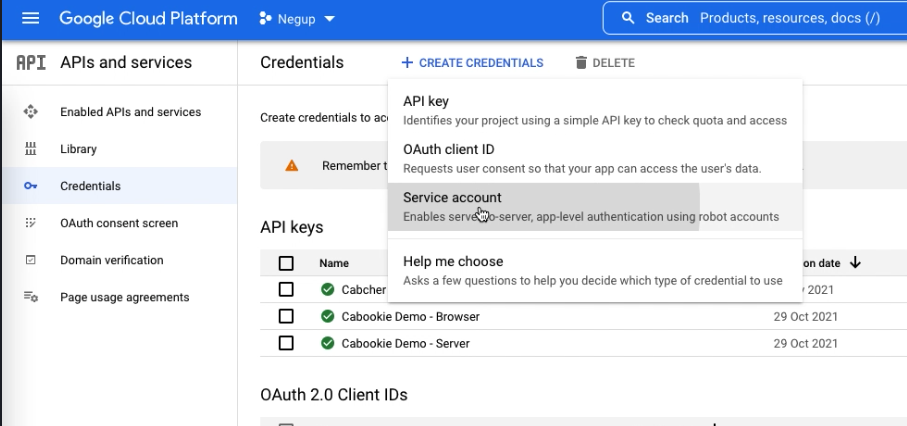
After enabling the “Google Calendar API” go to the “Credentials” option on the Dashboard. Under the “Create Credentials” option, choose “Service account”.
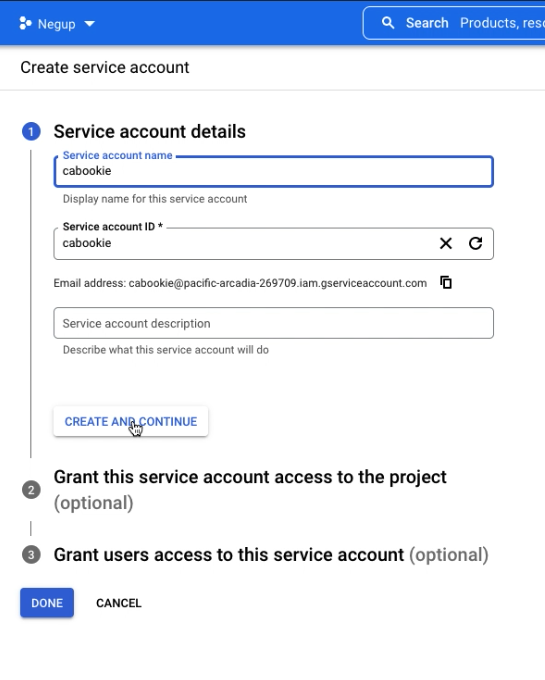
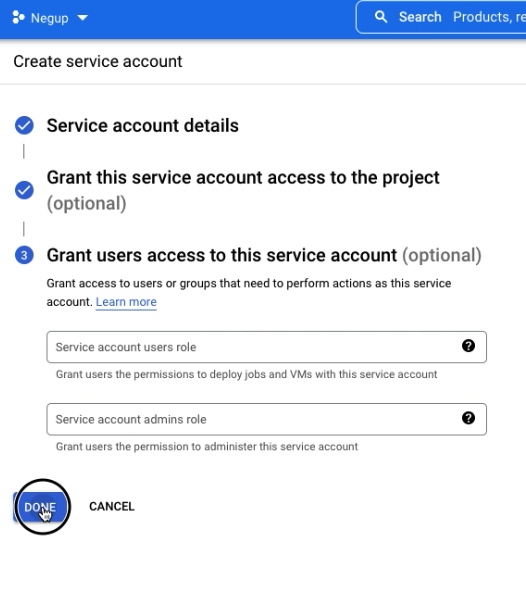
After choosing the service account, enter the service account details. Skip all the optional steps by continuing the process and selecting “Done”.
After creating a service account, Go to keys, click on “Add keys” and start by “Creating new key”.
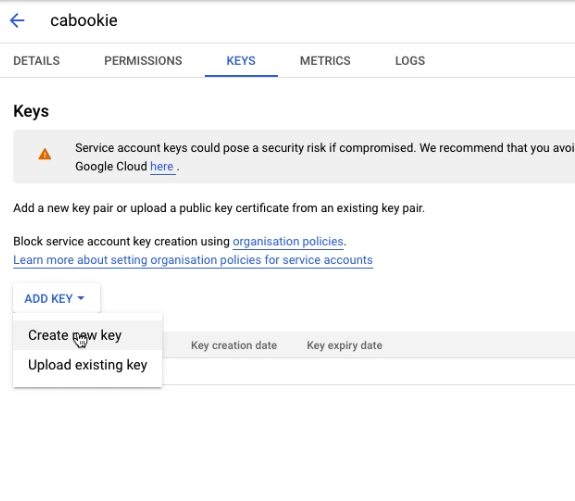
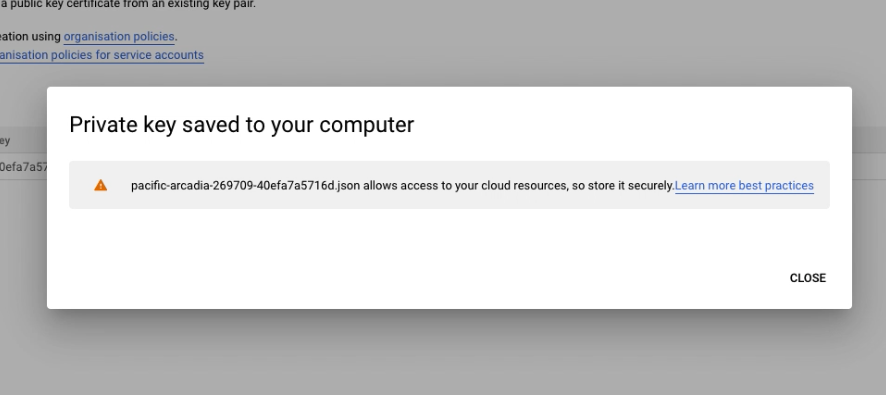
Opt for the “JSON” file click on “Create”.
Now, a private key can be seen saved in your system.
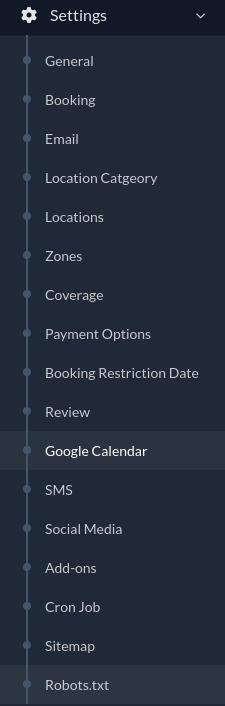
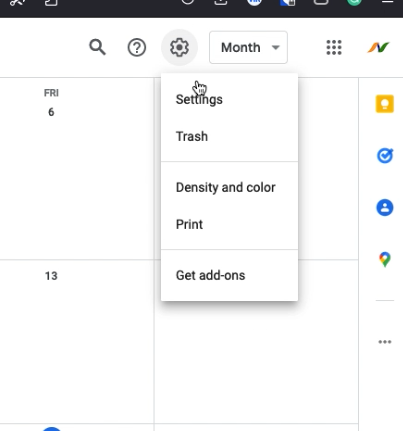
After saving the Private key, go to Google Calendar and choose Google settings.
After entering the Settings, Click on “Settings for my Calendars” and choose “Calendar settings”.
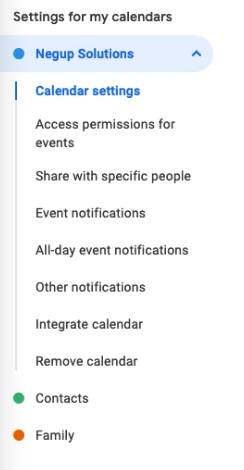
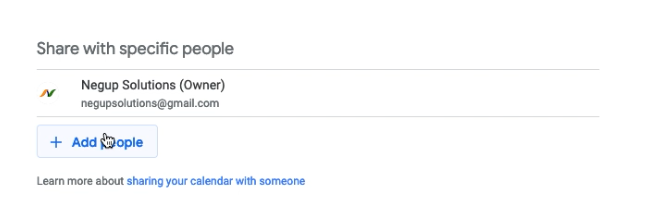
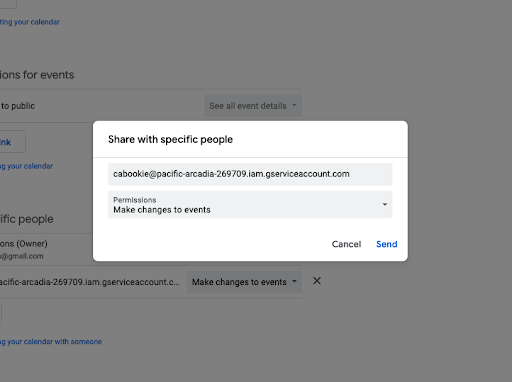
Find the “Share with specific people” option.
Now, switch to the “Google console tab”, go to the main Dashboard, and select “APIs and services”. Click on Credentials.
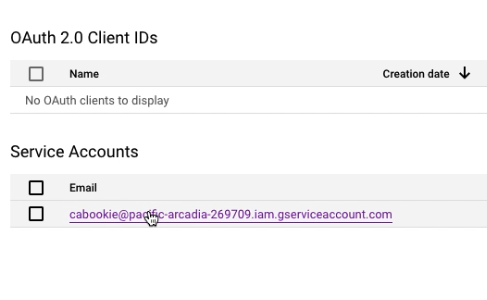
In the credentials Category, under the service accounts column, find the service account and click on it.
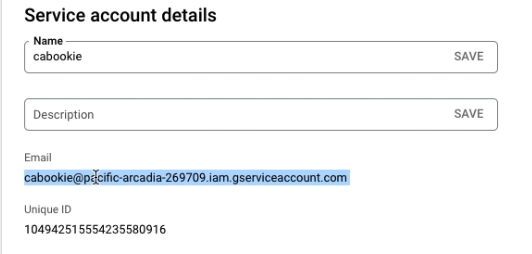
Under the service account details, Find the E-mail ID of the service account and select it.
Switch to the Google Calendar tab and copy the Email under “Share with specific people”. Eliminate the spaces and click on “Send”.
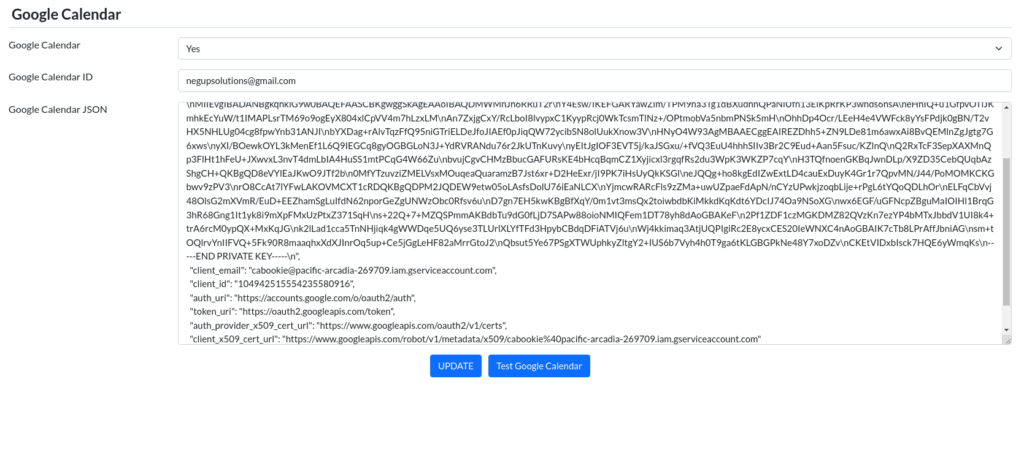
Now, Copy the private key in the form of a JSON file to the “Google Calendar Jason” on Settings -> Google Calendar. Enter the Google Calendar mail ID and update.